Visual Style Settings
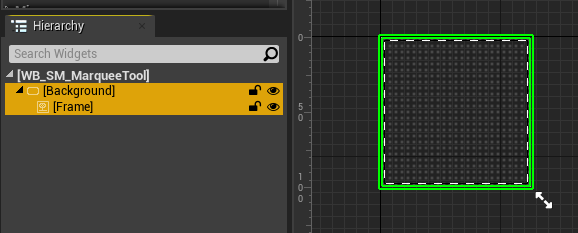
The selection frame is created by the WB_SM_MarqueeTool widget,
which is included with the plugin.
WB_SM_MarqueeTool is made with Blueprints. You can modify it, choose one of the included presets, or create your own widget.
Modifying plugin assets
If you want to modify any plugin asset, make a copy of it and move the copy to your project folder.
Otherwise, your changes may be lost when the plugin is updated.
The plugin includes several material variants for customizing the visual style of the Marquee Tool.
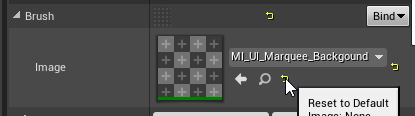
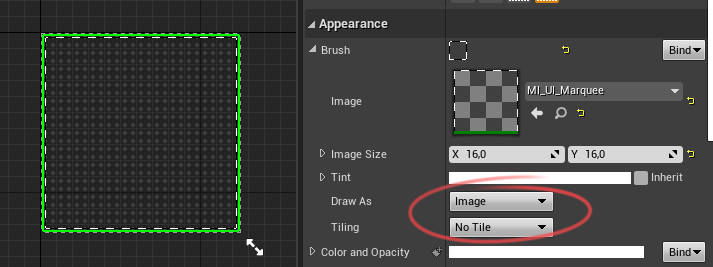
You can configure them inside the WB_SM_MarqueeTool widget by replacing the materials in the Brush settings of the UI Background and Frame elements.
Tip
You can also create and use your own widget for the selection frame.
Frame
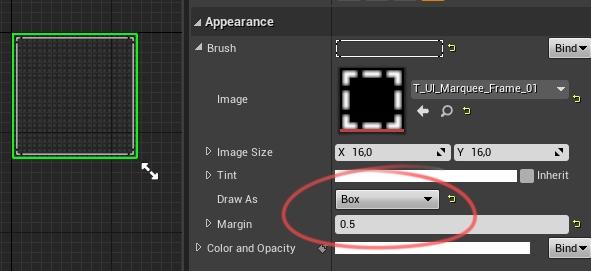
For the frame, you can use either a material or a texture inside the widget.
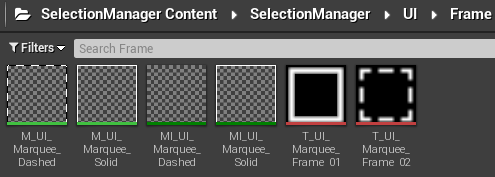
The Brush settings are different depending on whether you use a texture or a material:
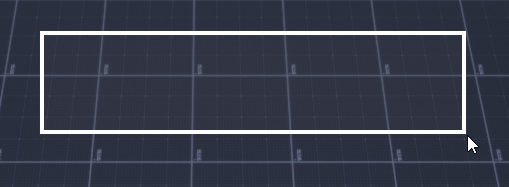
MI_UI_Marquee_Solid material creates a simple frame. You can adjust the thickness (Line Pixel Thickness), Color and Opacity of the material.
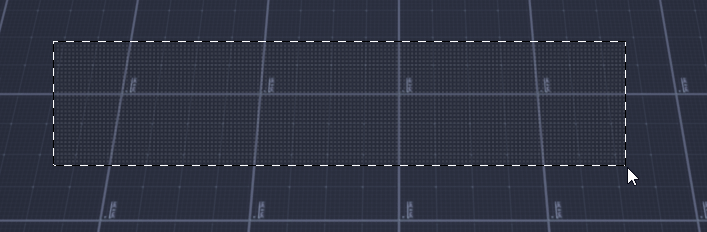
The MI_UI_Marquee_Dashed material creates a frame made of dashes, and you can adjust the thickness (Line Pixel Thickness), Animation Speed, size of dashes (Dashes Size), Color and Opacity of the material.
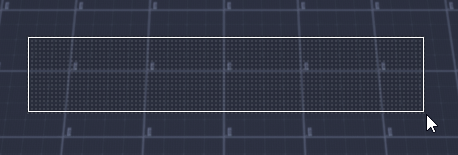
The use of T_UI_Marquee_Frame_01 and T_UI_Marquee_Frame_02 textures:
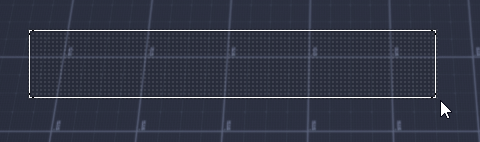
Background
For the background, you can use either premade pattern variants or a solid color.
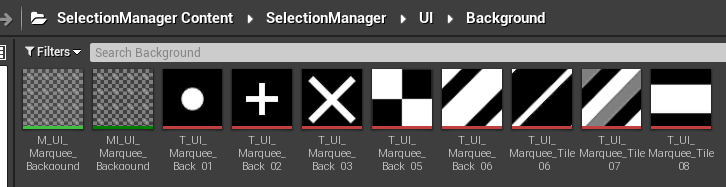
Pattern Background
To use a pattern background, replace the texture in the MI_UI_Marquee_Background material.
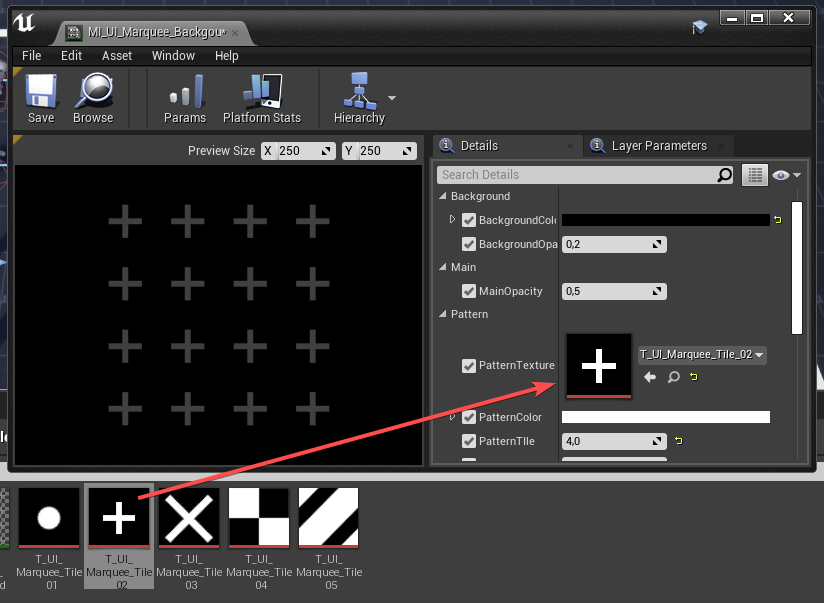
You can also adjust:
- Background Color
- Pattern Color
- Tile Size
- Opacity
You can also use a simple solid color.
To do this, reset the material in the WB_SM_MarqueeTool settings.